
Forget store-bought sameness and mass-produced mediocrity! Dive into the delightful world of personalised cookies, where your imagination is the only limit. This comprehensive guide will equip you with all the tools and tricks you need to transform your kitchen into a cookie-crafting haven, churning out delectable treats that perfectly capture your unique tastes and style.
In this guide, we will look into the starting point of crafting your very own cookies. From infusing your favourite childhood flavours into melt-in-your-mouth morsels to decorating them with stunning artistry that reflects your personality, this journey will be bursting with creativity and satisfaction. So, preheat your oven, gather your ingredients, and let's embark on a delicious adventure of self-expression, one personalised cookie at a time!
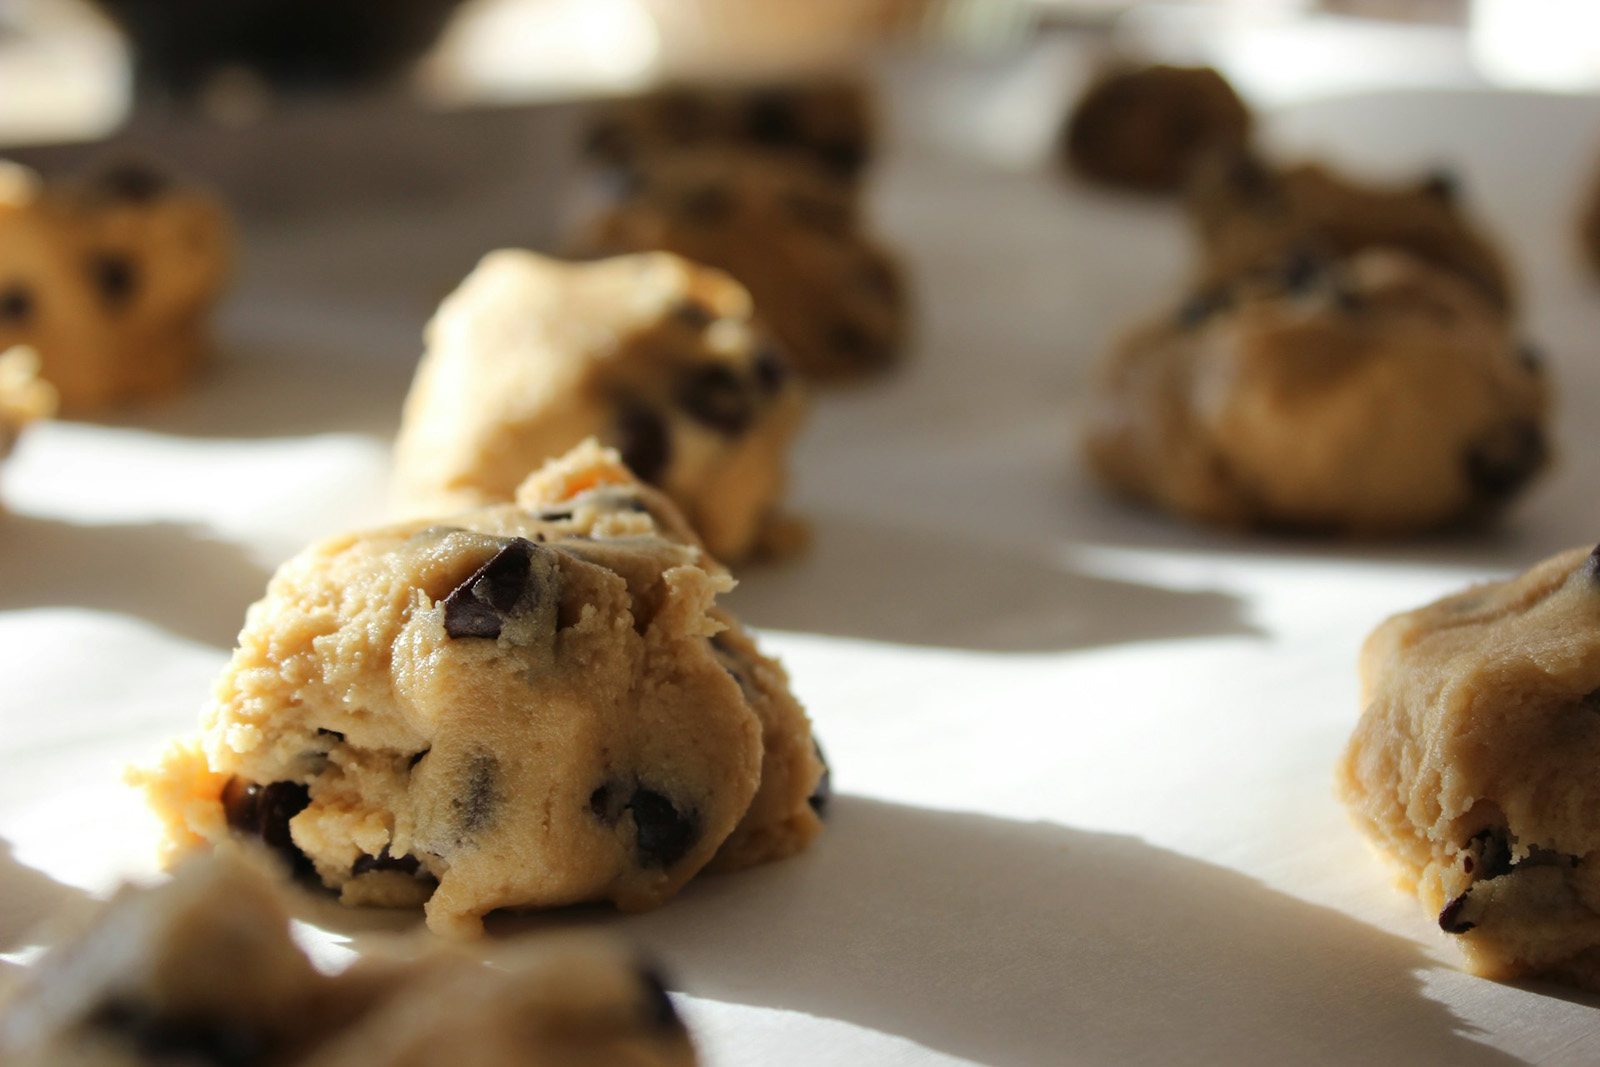
What is the perfect base for baking cookies?
To begin, there are many types of cookies, ranging from chocolate chip cookies to gingerbread cookies. You can browse a list of different cookies in this article by Edible.
There are also various cookie textures you may want to explore. These include cookies that are classic chewy, crispy crunchy, and rich chocolatey! As written by Cookies & Cups, a versatile cookie base can be adapted to different textures and flavours typically includes the following key ingredient to achieve your ideal texture. Their cookie recipe produces a delightful combination of buttery, crispy edges and thick, soft centres. The texture is robust enough to accommodate a variety of mix-ins while maintaining a soft and tender consistency.
What are the essential ingredients in cookies?
Beyond the base, these are some key players that are crucial for any cookie recipe:
- Flour
- Fat
- Sweetener
- Leavening agent
- Eggs
- Salt
Essential Ingredient #1: Flour
This ingredient is the backbone of your cookies, providing structure and holding everything together.
Essential Ingredient #2: Fat
Butter, oil, or shortening add richness, texture, and flavour to your cookies. Creaming butter with sugar also incorporates air for light and tender cookies! Check out this post by CCC’s Curious Kitchen to learn more about the role of fats in cookie baking.
Essential Ingredient #3: Sweetener
Sugar provides the sweetness and helps the cookies brown beautifully. Brown sugar adds moisture and a richer flavour.
Essential Ingredient #4: Leavening agent
Also known as a raising agent, baking soda or powder gives your cookies lift and spread.
What exactly is the difference between using baking soda and baking powder? Baking soda tends to produce a crisper cookie, while baking powder contributes to a softer texture.
Essential Ingredient #5: Eggs
Eggs bind the ingredients and add richness. This ingredient however, is not necessary for vegan or crispy cookies.
Essential Ingredient #6: Salt
Salt enhances the other flavours and sweetness of the cookies to become perfectly balanced, as all things should be.
What are some flavour combinations for customised cookies?
Creating your own customised cookies allows for endless flavour possibilities. Stuck in a creative rut? Here are some delightful flavour combinations to inspire your cookie creations:
- Classic Chocolate Chunk and Sea Salt
- Peanut Butter and Banana Delight
- Dark Chocolate Mint Marvel
- Espresso White Chocolate Wonder
- Salted Caramel Pecan Pleasure
- Orange Ginger Snap
Feel free to experiment with these combinations, and adjust ingredient quantities to suit your taste preferences. The beauty of customised cookies lies in the ability to tailor them to your unique flavour preferences!
What are some creative mix-ins for customised cookies?
Elevate your cookies with inventive mix-ins, going beyond the ordinary to add unique textures and flavours that will surprise everyone that tastes your cookies. Here are some special mix-ins everyone would love to snack on:
- Toffee Bits
- Crushed Pretzels
- Dried Lavender
- Chai Spice Blend
- Citrus Zest
- Coconut Flakes
- Matcha Powder
- Bacon Bits
What are some considerations when baking customised cookies?
- Consistency is key
- Temperature control
- Mixing techniques
- Customisation limitations
- Allergen considerations
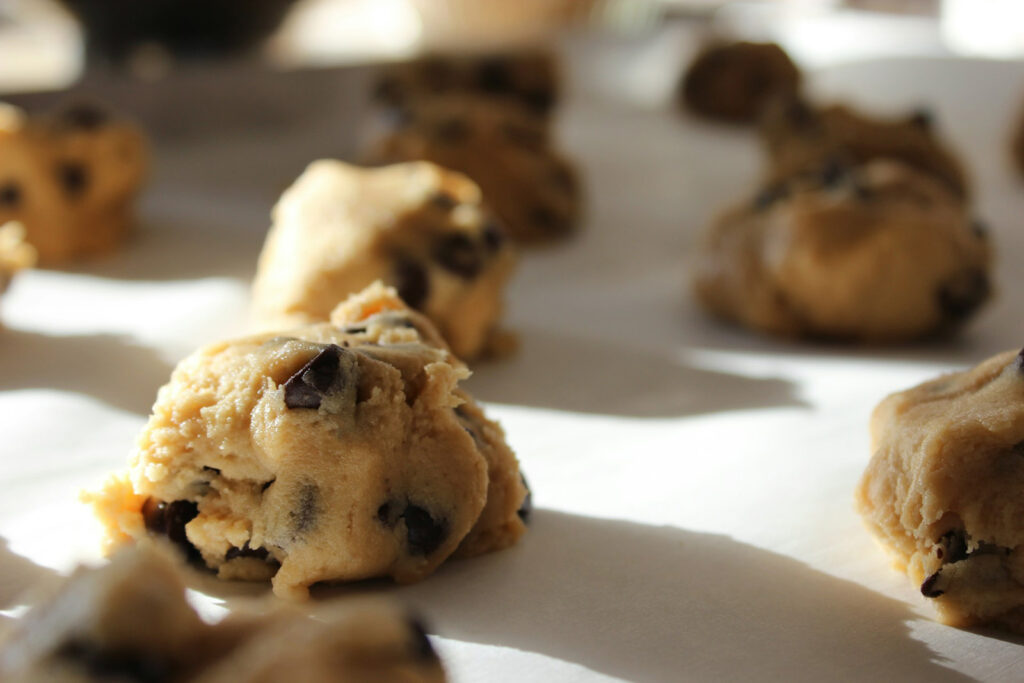
Consideration #1: Consistency is Key
Pay attention to the consistency of the cookie dough. Ideally, it should be soft and pliable, as written by The Frosted Kitchen. Depending on the modifications made, the dough may need adjustments in terms of moisture content or chilling time. Ensuring a consistent dough texture helps achieve uniform baking results.
Consideration #2: Temperature Control
Precision in oven temperature is crucial. Variations in temperature can affect the cookies' texture, spreading, and overall appearance. What is the ideal temperature to set your oven for baking cookies? According to an experiment by CCC’s Curious Kitchen, different temperatures yielded cookies that are different in texture. Lower temperatures provide the cookie with ample time to spread and flatten before setting, resulting in a crispier texture. On the other hand, higher temperatures lead to a thicker cookie, but there's a risk that the centre may not cook thoroughly before the outer edges brown. It is generally recommended to preheat the oven to temperatures ranging from 160 to 190°C for about 8 to 12 minutes. The optimal location for baking within an oven can vary based on your appliance. The middle rack is typically the ideal placement, as it ensures even distribution of heat and thus makes it the preferred spot for baking.
Consideration #3: Mixing Techniques
Be mindful of the mixing process. Overmixing can lead to dense cookies, while undermixing may result in uneven distribution of ingredients. Follow the recipe guidelines for optimal mixing times and techniques.
Consideration #4: Customisation Limitations
While experimenting is encouraged, be aware that excessive modifications may compromise the structural integrity of the cookies. Striking a balance between customisation and adherence to basic baking principles ensures a successful outcome. It is also worth considering that factors like ingredient ratios and the shape of the cookie dough also play a role in determining the spread and texture of the final product.
Consideration #5: Allergen Considerations
Take into account any allergies or dietary restrictions when customising cookies for a wider audience. Clearly communicate the ingredients used to accommodate those with specific dietary needs.
By following these steps and considerations, bakers can embark on a delightful journey of creating customised cookies that cater to their unique tastes and preferences. The process allows for endless creativity, ensuring that each batch is a one-of-a-kind, delicious masterpiece!
What are some texture mastery tips for customised cookies?
Achieving the perfect texture and presentation for your customised cookies involves a combination of technique and creativity. Here are some tips before you begin to help you master texture and enhance the shape and presentation of your personalised cookies:
- Butter temperature
- Creaming technique
- Egg incorporation
- Flour handling
- Chill the dough
- Under-baking slightly
Texture Mastery Tip #1: Butter Temperature
Ensure your butter is at the right temperature. According to this article by Food Network, the ideal texture of your butter should be softened but not melted. This would be achieved at a temperature between 63 and 68°C, which helps create a structured cookie as a result.
Texture Mastery Tip #2: Creaming Technique
Cream the butter and sugar thoroughly. This step traps air in the dough, also contributing to a softer texture. Check out this post by King Arthur Baking for images on how the creamed butter should and should not look!
Texture Mastery Tip #3: Egg Incorporation
Add eggs one at a time to promote an even texture. Ensure each egg is fully incorporated before adding the next.
Texture Mastery Tip #4: Flour Handling
Be cautious not to overmix the flour. Overmixing can lead to a tougher texture. Mix until just combined.
Texture Mastery Tip #5: Chill the Dough
Secret tip: refrigerate the cookie dough before baking. Chilled dough helps control spreading, resulting in a chewy texture.
Texture Mastery Tip #6: Under-Baking Slightly
Remove cookies from the oven when they still appear slightly underdone. They will continue to set as they cool, ensuring a softer cookie centre.
What are some shape and presentation tips for customised cookies?
Here are some creative ideas to enhance the visual appeal of your personalised treats:
- Consistent sizing
- Perfecting shapes
- Thumbprint indents
- Dough layering for marbling
- Dusting with powdered sugar
Shape and Presentation Tip #1: Consistent Sizing
Use a cookie scoop or measured spoon to ensure your cookies are all of uniform sizes for an even batch.
Shape and Presentation Tip #2: Perfecting Shapes
Shape your cookies with intention. Round balls create a classic shape, while flattening them slightly can result in a more rustic appearance.
Shape and Presentation Tip #3: Thumbprint Indents
Make thumbprint indents in certain cookies before baking. Fill the indentations with jam, chocolate, or other toppings after baking for added visual appeal.
Shape and Presentation Tip #4: Dough Layering for Marbling
Layer different coloured doughs and swirl them together for marbled cookies. This adds a visually striking element.
Shape and Presentation Tip #5: Dusting with Powdered Sugar
Duabst cooled cookies with powdered sugar for a simple yet sophisticated presentation. Voilà!
These are just a few ideas to get you started. Remember, baking is all about experimentation, so have fun and let your creativity flow!
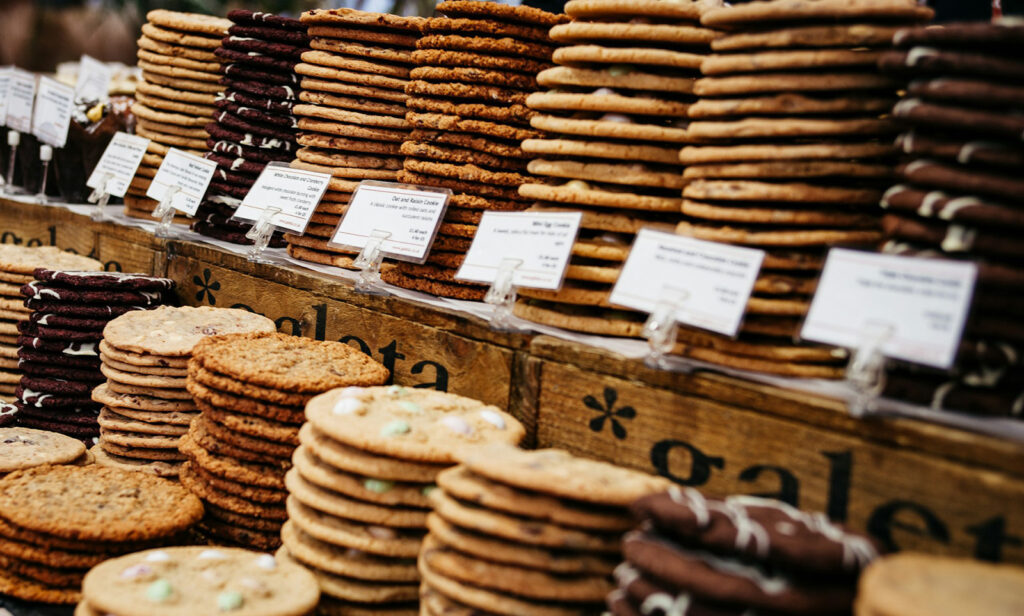
How should I package and store cookies?
Packaging and storing cookies properly are essential to maintain their freshness and flavour. Here are some tips on how to package and store cookies:
- Allow cookies to cool completely
- Choose appropriate containers
- Layering with parchment paper
- Vacuum sealing
- Use resealable plastic bags
- Freeze for long-term storage
- Store similar cookies together
- Avoid mixing strong flavours
- Store at room temperature
- Decorative packaging for gifting or selling
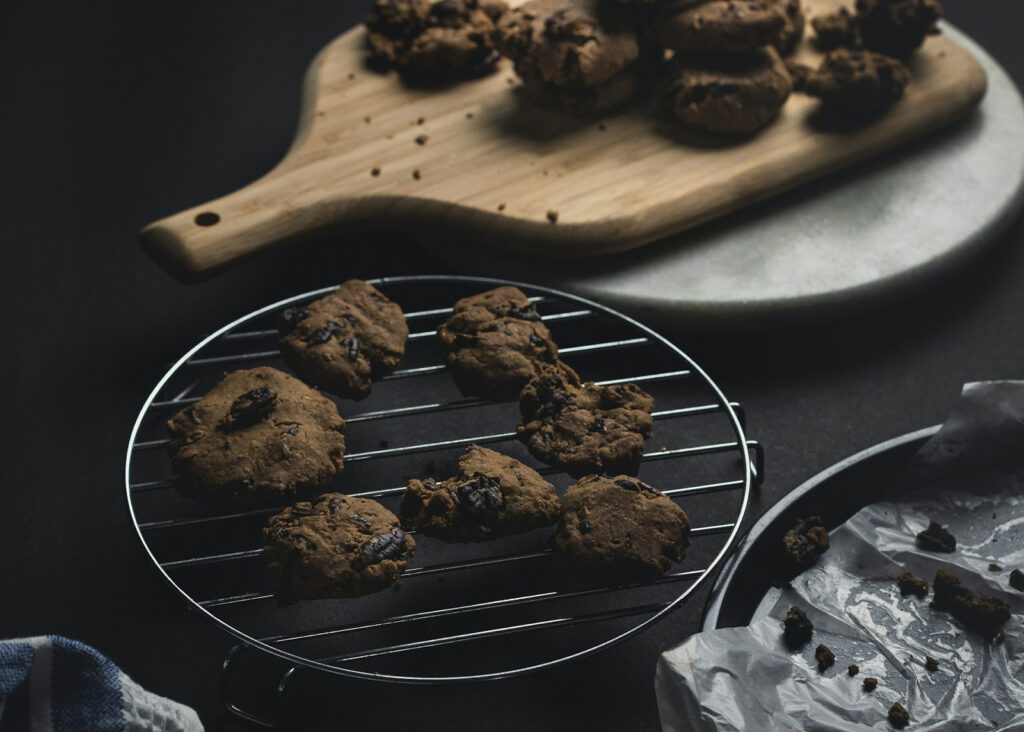
Packaging Tip #1: Allow Cookies to Cool Completely
Before packaging, ensure that your cookies have cooled completely. This prevents condensation, which can make cookies soggy.
Packaging Tip #2: Choose Appropriate Containers
Use airtight containers or cookie tins to store your cookies. This helps keep them fresh and prevents them from absorbing odours from the surroundings.
Packaging Tip #3: Layering with Parchment Paper
If stacking cookies, place parchment paper between layers to prevent them from sticking together. This is especially important for cookies with icing or decorations.
Packaging Tip #4: Vacuum Sealing
For longer-term storage, consider vacuum-sealing cookies. This removes excess air and helps maintain freshness for an extended period.
Packaging Tip #5: Use Resealable Plastic Bags
Place cookies in resealable plastic bags and squeeze out excess air before sealing. This method is suitable for short-term storage and easy access.
Packaging Tip #6: Freeze for Long-Term Storage
If you want to store cookies for an extended period, freezing is a viable option. Ensure cookies are thoroughly cooled before freezing and use airtight containers or freezer bags. Label with the date for easy tracking.
Packaging Tip #7: Store Similar Cookies Together
Keep cookies with similar textures and moisture levels together to prevent them from affecting each other. For example, store crispy cookies separately from soft or chewy ones.
Packaging Tip #8: Avoid Mixing Strong Flavours
Strongly flavoured cookies, such as mint or citrus, should be stored separately to prevent their flavours from transferring to other cookies.
Packaging Tip #9: Store at Room Temperature
Most cookies are best stored at room temperature. However, avoid placing them in direct sunlight or near heat sources, as this can cause them to become stale or lose their texture.
Packaging Tip #10: Decorative Packaging for Gifting or Selling
If you're gifting cookies, consider using decorative packaging such as cellophane bags, cookie tins, or gift boxes. Add a ribbon or personalised tag for an extra special touch.
By following these tips, you can extend the shelf life of your cookies and ensure that they remain delicious when you're ready to enjoy them.
What are some cookie manufacturers in Singapore?
Sometimes, cookie baking can be a tedious process to even begin thinking about. Crafting your own cookies involves planning, getting your ingredients, picking a recipe, finding storage solutions, and hoping the cookies turn out as expected!
However, if you intend to offer cookies as a gift or for commercial purposes, there are contract manufacturers in Singapore that can provide these services for you. Find out more about contract manufacturing for baked goods here. There are several cookie manufacturers in Singapore, considering how much of a sweet tooth our locals have. Here’s a non-exhaustive list of some manufacturers in Singapore:
- the moonbeam co.
- The Cookies Factory
- Baker’s Oven Patiseries
What is the moonbeam co.?
the moonbeam co. is a Singaporean manufacturer specialising in sustainability. Our standout offerings include baked goods and even granola, which you may have seen at the local Muji retail shops! We can create delectable cookies and biscuits with you from inception to flavours to packaging. Ping us for additional details, and we’ll definitely help where we can!
What is The Cookies Factory?
The Cookies Factory is another cookie and biscuit manufacturer founded in 1991, that brings over three decades of expertise to the confectionery manufacturing industry both in Malaysia and internationally. Their products are formulated to deliver unique flavours and distinct textures that caters to the discerning expectations of their customers.
What is Baker's Oven Patiseries?
Baker’s Oven Patiseries is a bakery product manufacturer and wholesale supplier specialising in seasonal items like mooncakes, Chinese New Year snacks, Christmas cakes, Hari Raya cakes, and more. This local company has incorporated frozen food technology to prolong the shelf life of their products for up to 12 months.
Conclusion
Embarking on the journey of crafting personalised cookies not only elevates the joy of baking but also allows you to infuse your unique touch into every delightful bite. Hopefully, this guide has equipped you with the knowledge and tips to experiment with diverse ingredients and customise recipes to suit your own taste preferences.
As you dive into the world of personalised cookie creation, savour the process, embrace experimentation, and share the joy of your delectable creations with others. Your personalised cookies are not just sweet treats; they are an expression of your culinary artistry and a source of shared joy and connection. Happy baking!